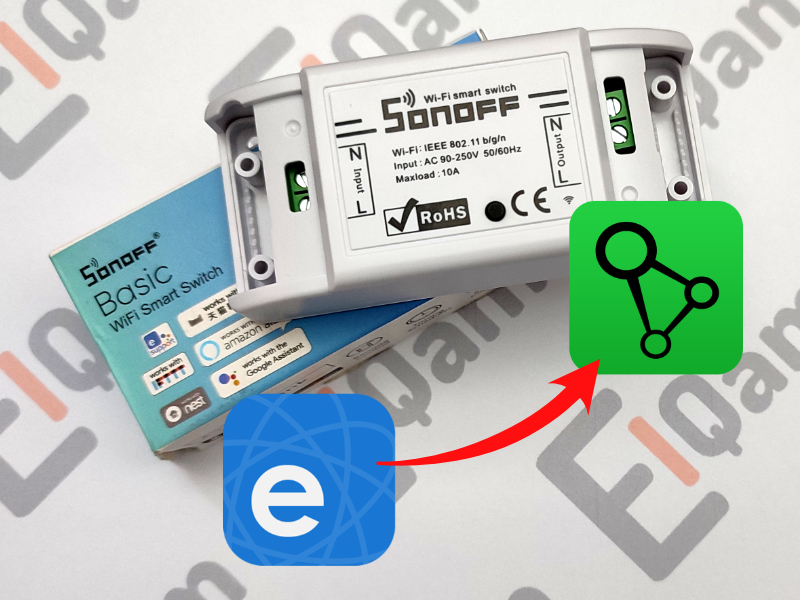
Sonoff BASIC – how to change firmware to SUPLA
Changing the original firmware (EWelink application) in Sonoff Basic to SUPLA will not only allow the device to be integrated in the SUPLA system, but also allow the device to be expanded with new functions and sensors.
Before we start
❗ any interference or modifications may lead to loss of warranty
⚠️ all modifications are done so at your own risk
⚡ safety warning – high voltage
What do we need
- USB – TTL UART 3.3V converter ( e.g. FT232RL FTDI, CP2102 )
- Espressif – Flash Download Tools software
- SUPLA firmware – ESP8266/ESP8285 GUI-Generic Builder
- computer with Windows operating system
Let’s start
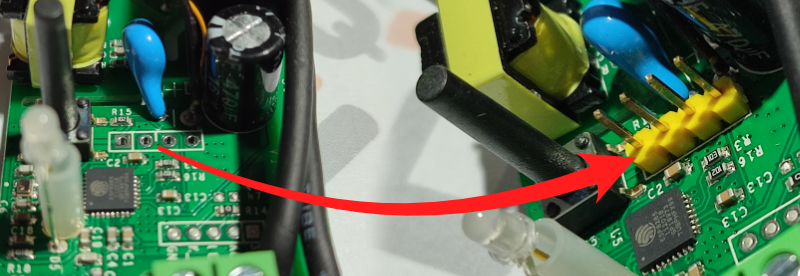
First, we need to solder the goldpin connector (2.54mm raster) to the sonoff board:
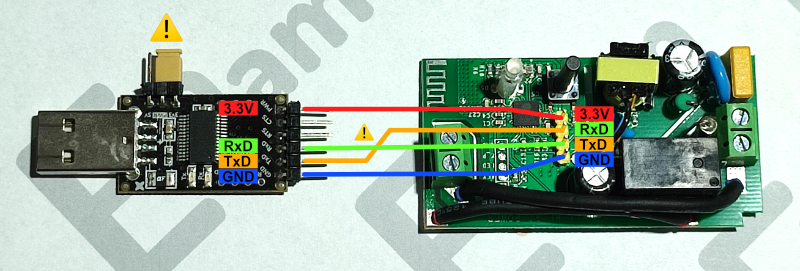
Then connect the converter according to the diagram below.
Pay attention to select of the appropriate 3.3V voltage and the way of connecting the data lines Tx -> Rx and Rx <- Tx.
The description of the pins is on your PCB.
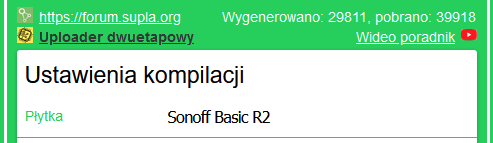
Now we can prepare the new firmware. For this purpose, we will use the firmware builder on the supla.org website:

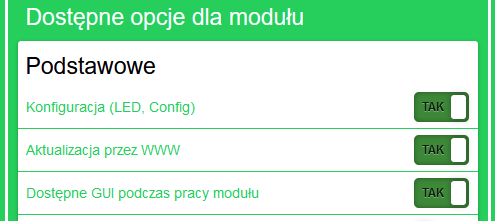
Select the type of board and options for the module and click “Generate”:
After generating the firmware, download it to the hard drive:

Now we need download and run the “flash download tool” (in my case flash_download_tool_3.9.3).
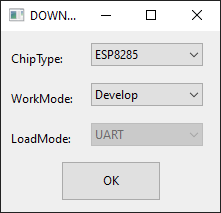
Select the type of chip, work mode and click OK
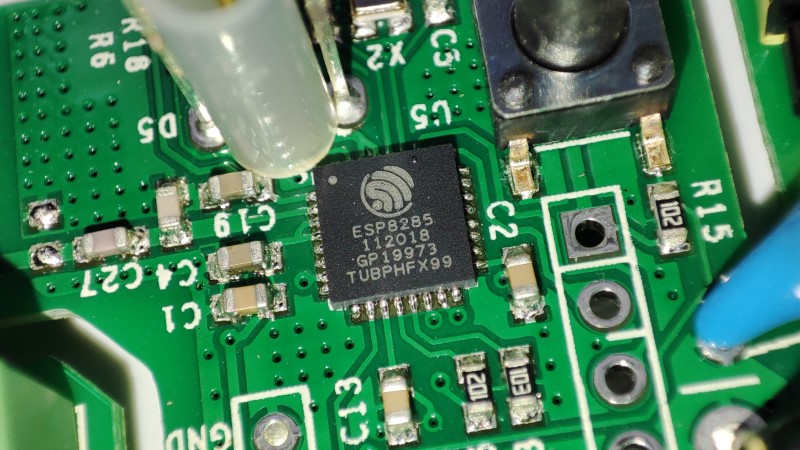
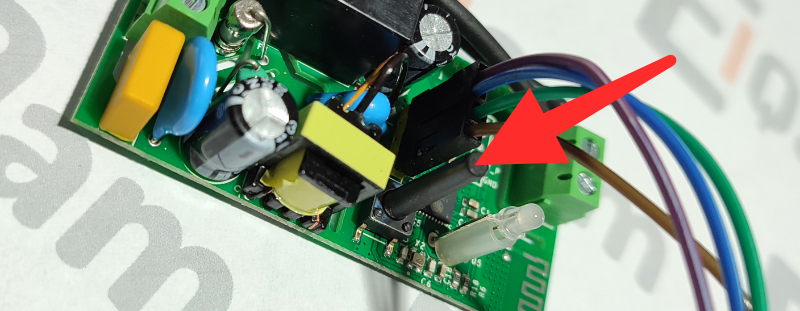
Press and hold the Sonoff tact switch button, then connect TTL converter to the USB port – this way we put the Sonoff system into flashing mode:
In the next step, we need to set:
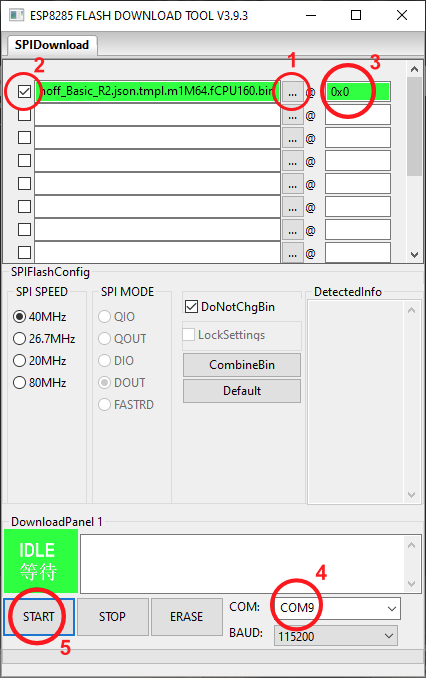
- Select the the supla firmware file (previously generated with Supla BUILDER)
- Set checked
- Enter the start address 0x0
- Selcet the COM port (before this step connect the device in flashing mode)
- Click START
There is a progress bar at the bottom of the window so we will be able to follow the progress of the firmware flashing.
After the upload is complete, the message FINISH will be displayed:
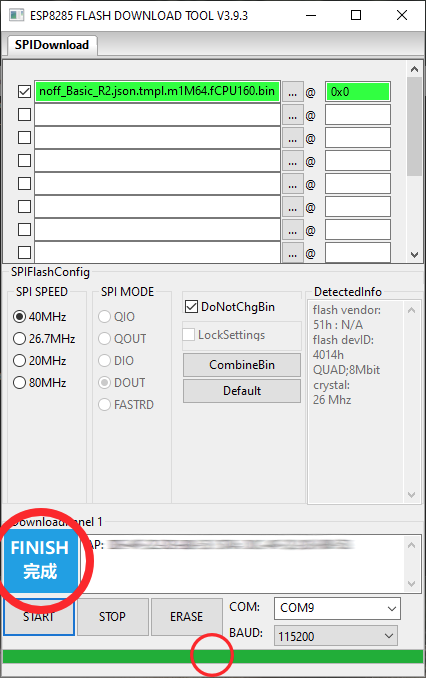
It’s Done! Now you can completely disconnect the converter and start the device.
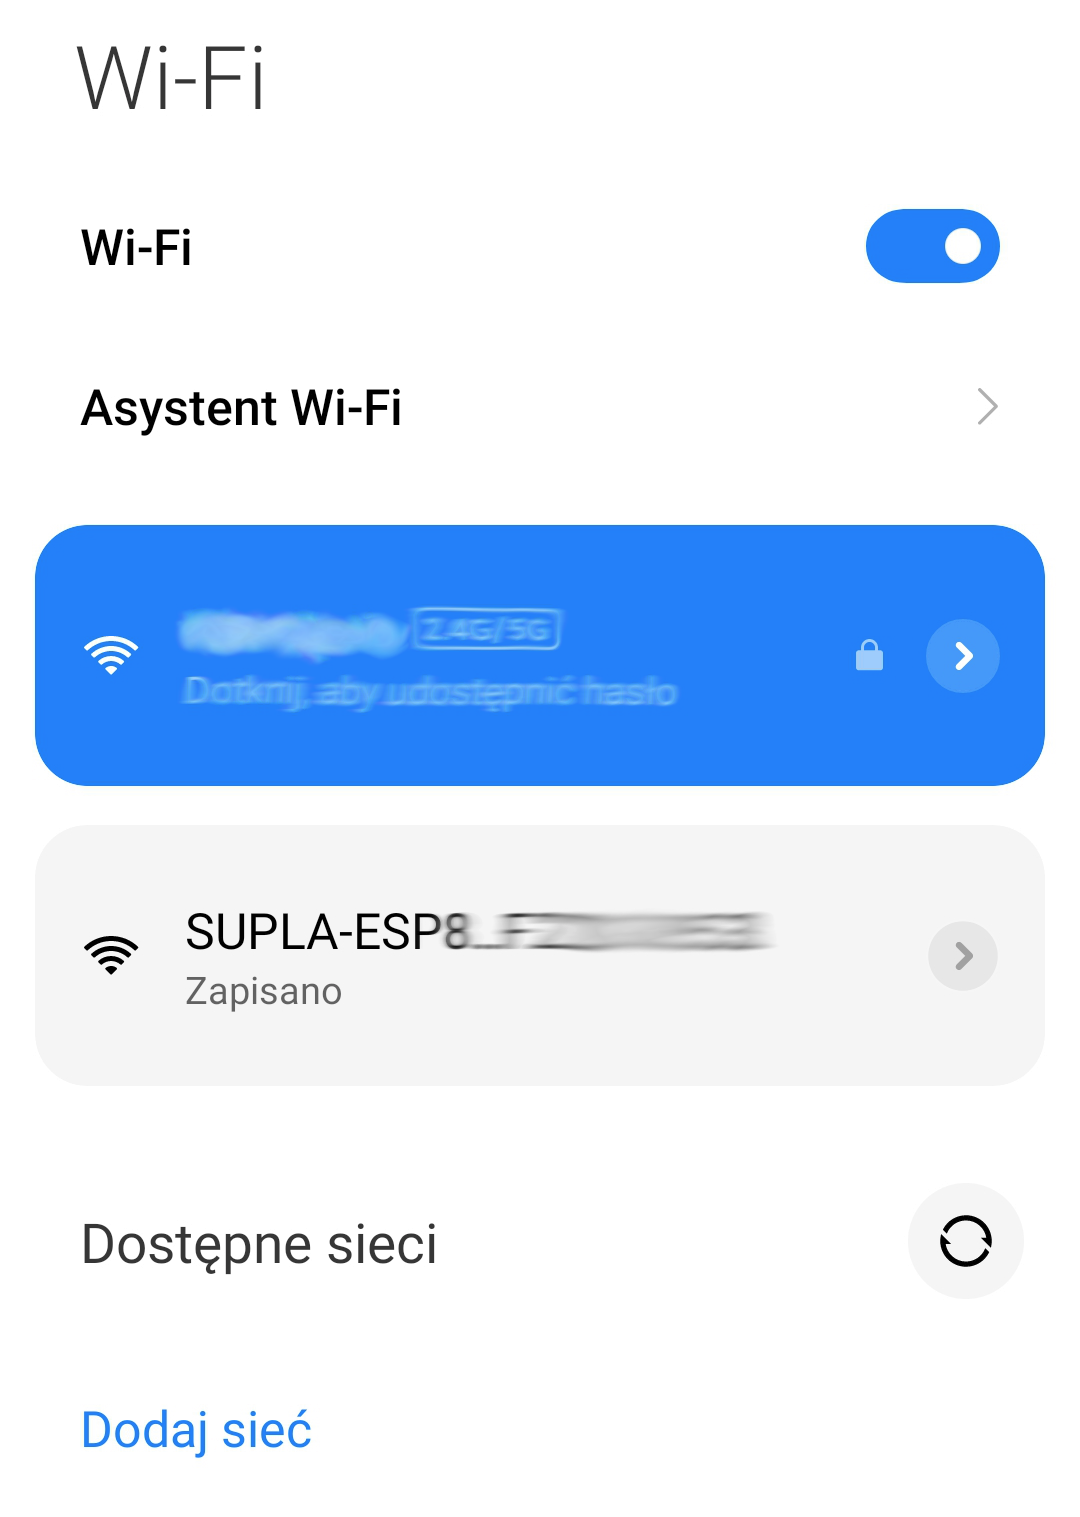
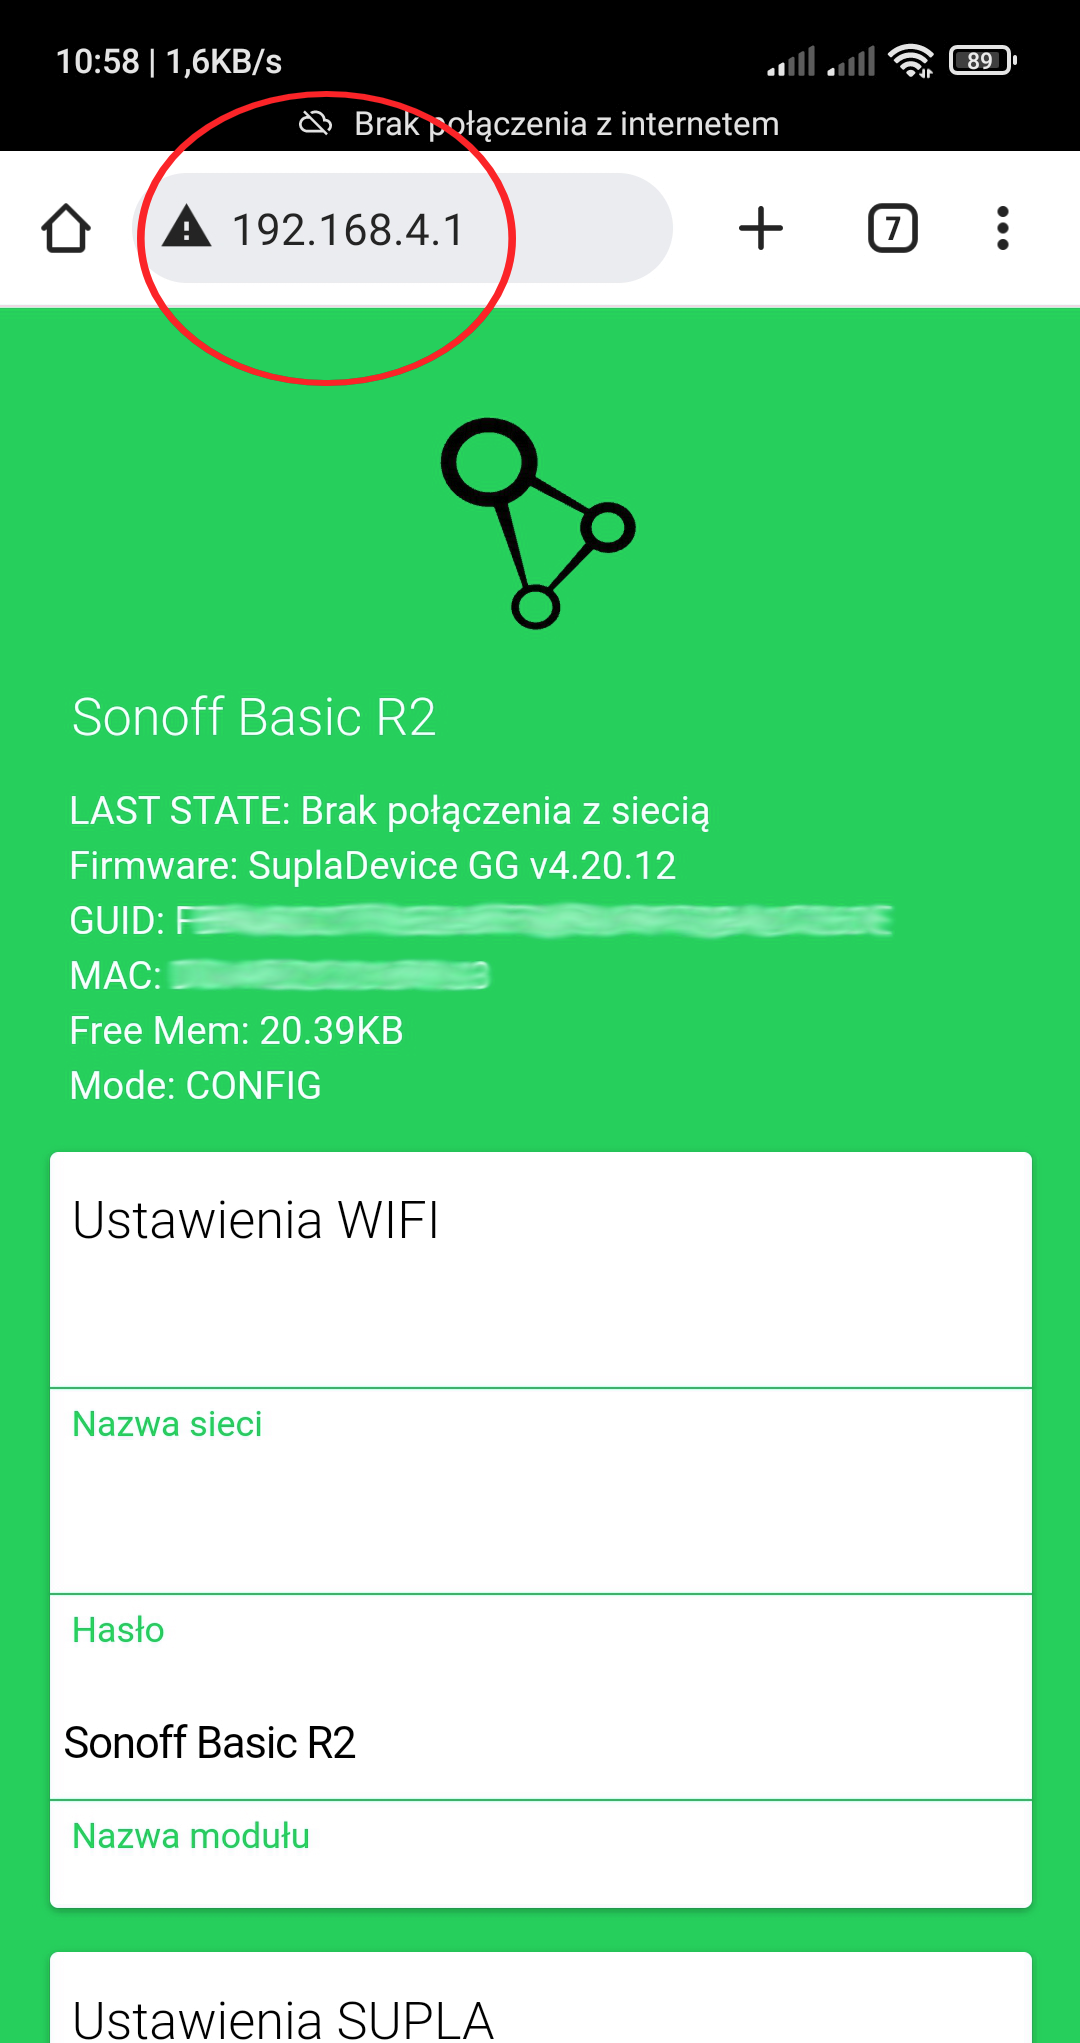
The Sonoff LED diode should blink quickly and a new WiFi network “SUPLA-ESPxxx” will appear, which, after connecting, will allow you to enter configuration page at 192.168.4.1 IP address.